What’s Your Hidden Pipeline Really Costing You?
A staggering 91% of B2B marketing leaders are concerned about missing revenue from hidden, high-intent opportunities buried deep in the dark funnel.
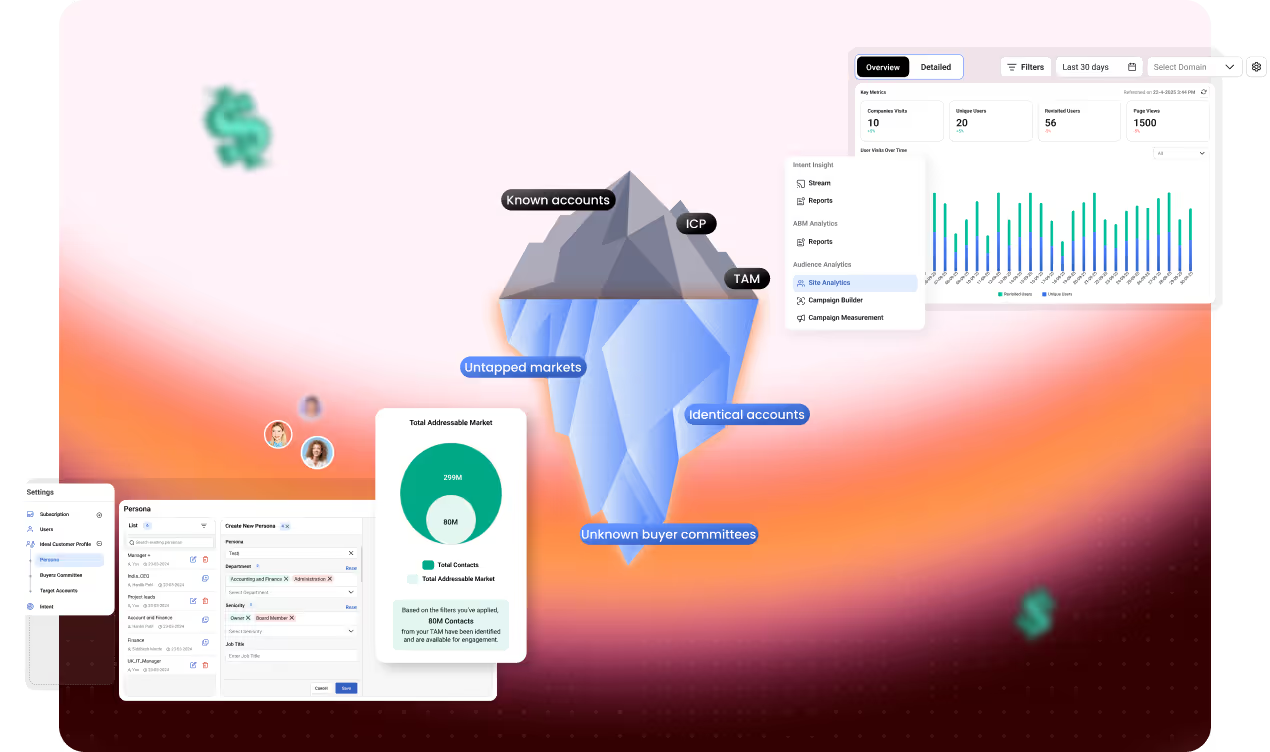

You’re Not Just Missing Leads. You’re Losing Revenue.
The Dark Revenue Gap is silently draining your pipeline.
High-value buyer intent is lost to invisible demand and stalled deals, all due to
a critical lack of clarity
#1 challenge cited by 100 B2B marketers is a lack of unified data.
98% believe activating hidden revenue unlocks major growth
90% say mis-prioritizing accounts is a costly mistake
Your competitors are closing deals that should’ve been yours
We are not absolutely leveraging to the maximum efficiency every intent signal and piece of data that we have. We could be doing better with all of this [data]. We’ve started saying no to new data sources. We need to know: does it work? Can we integrate it into the real world—our website, our events, our sales cycle? We’ve got our hands full with what we already have.

*Data has been pulled from Predictiv's 2025 B2B Pipeline and Revenue survey.
How Predictiv AI Powers our Revenue Activation Framework
Unify Your Revenue Signals
Bring together firmographic, technographic, demographic, and behavioral data.
Identify Your Complete Revenue Landscape
See the accounts and buying groups your team’s not engaging—yet.

Prioritize What Moves the Needle
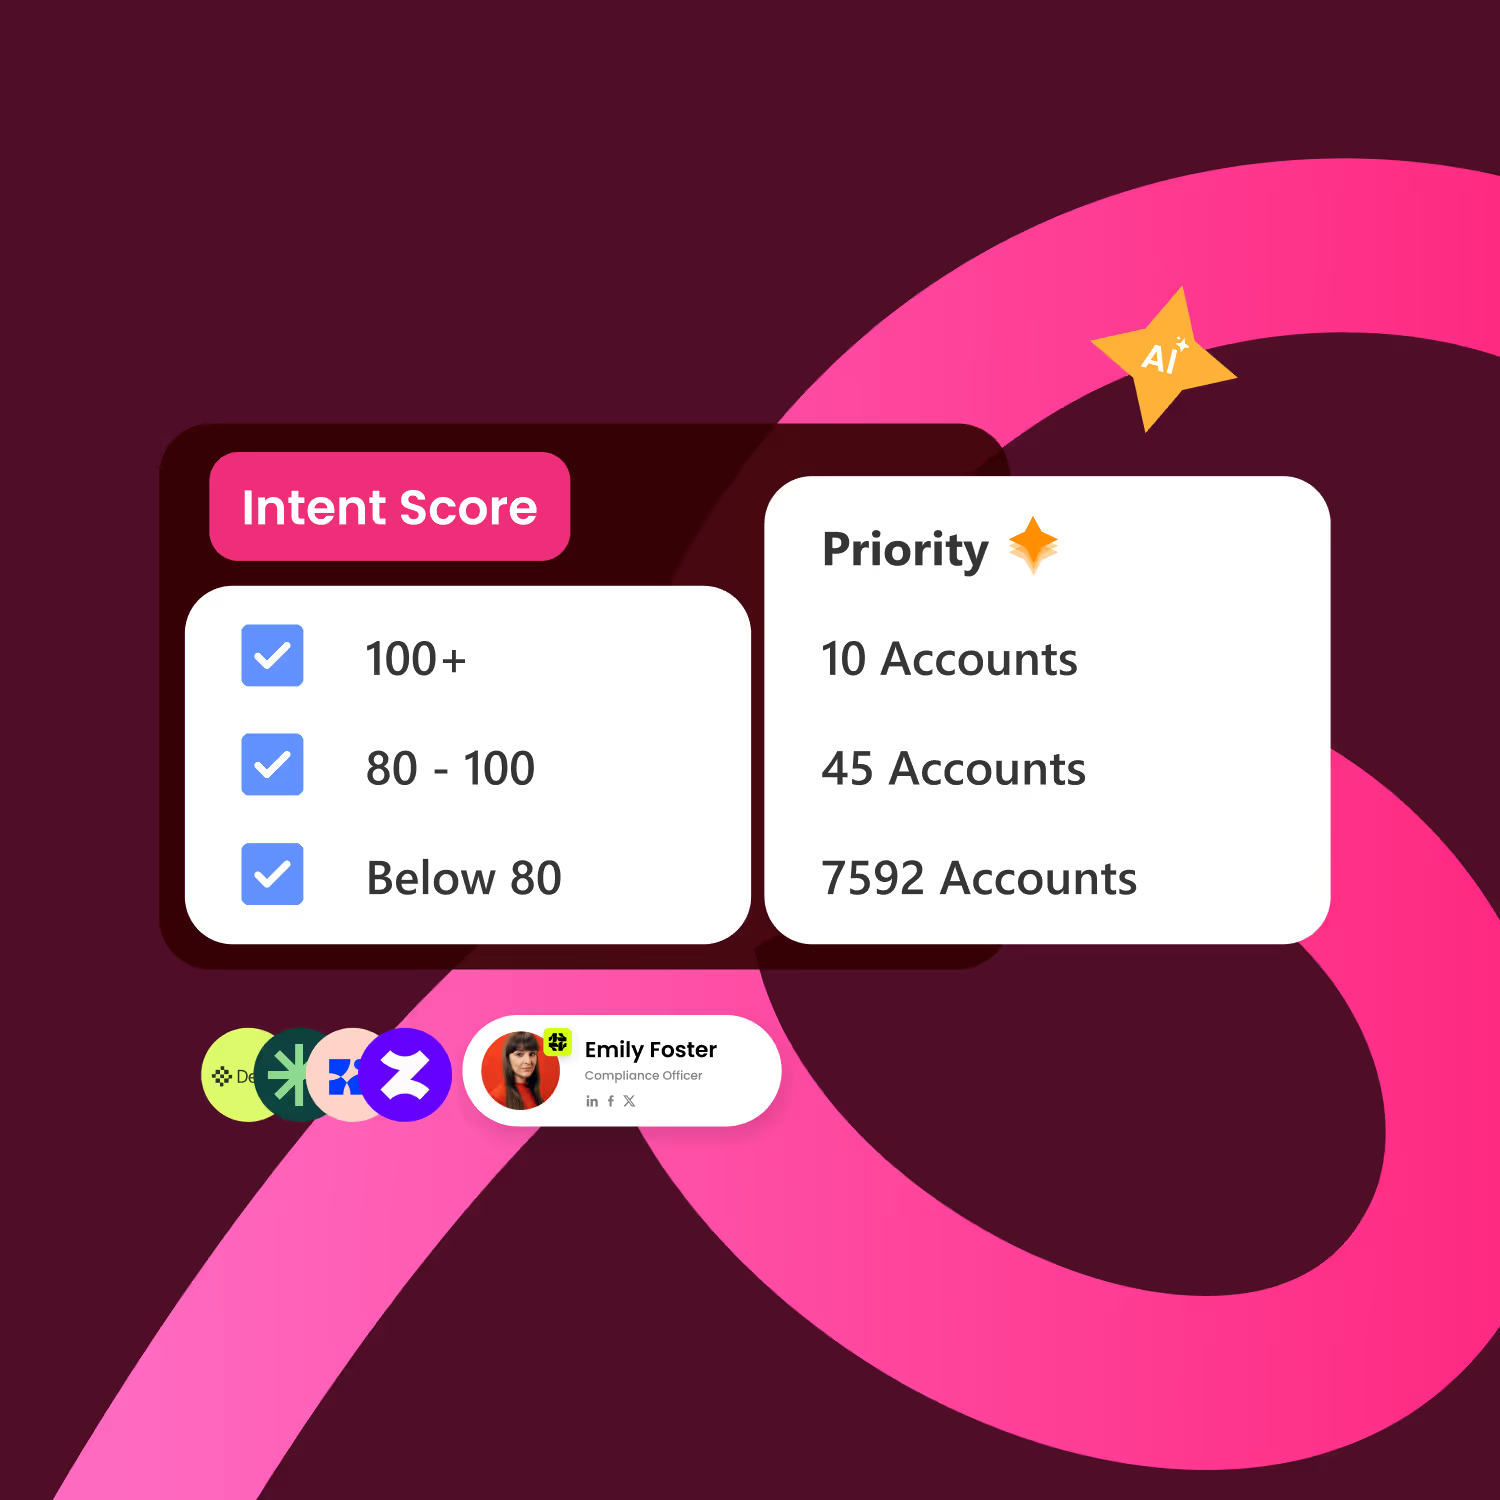
Predictiv AI scores every opportunity based on fit, intent, and real engagement.
Plug Revenue Signal Mixer Into Any Partner Stack
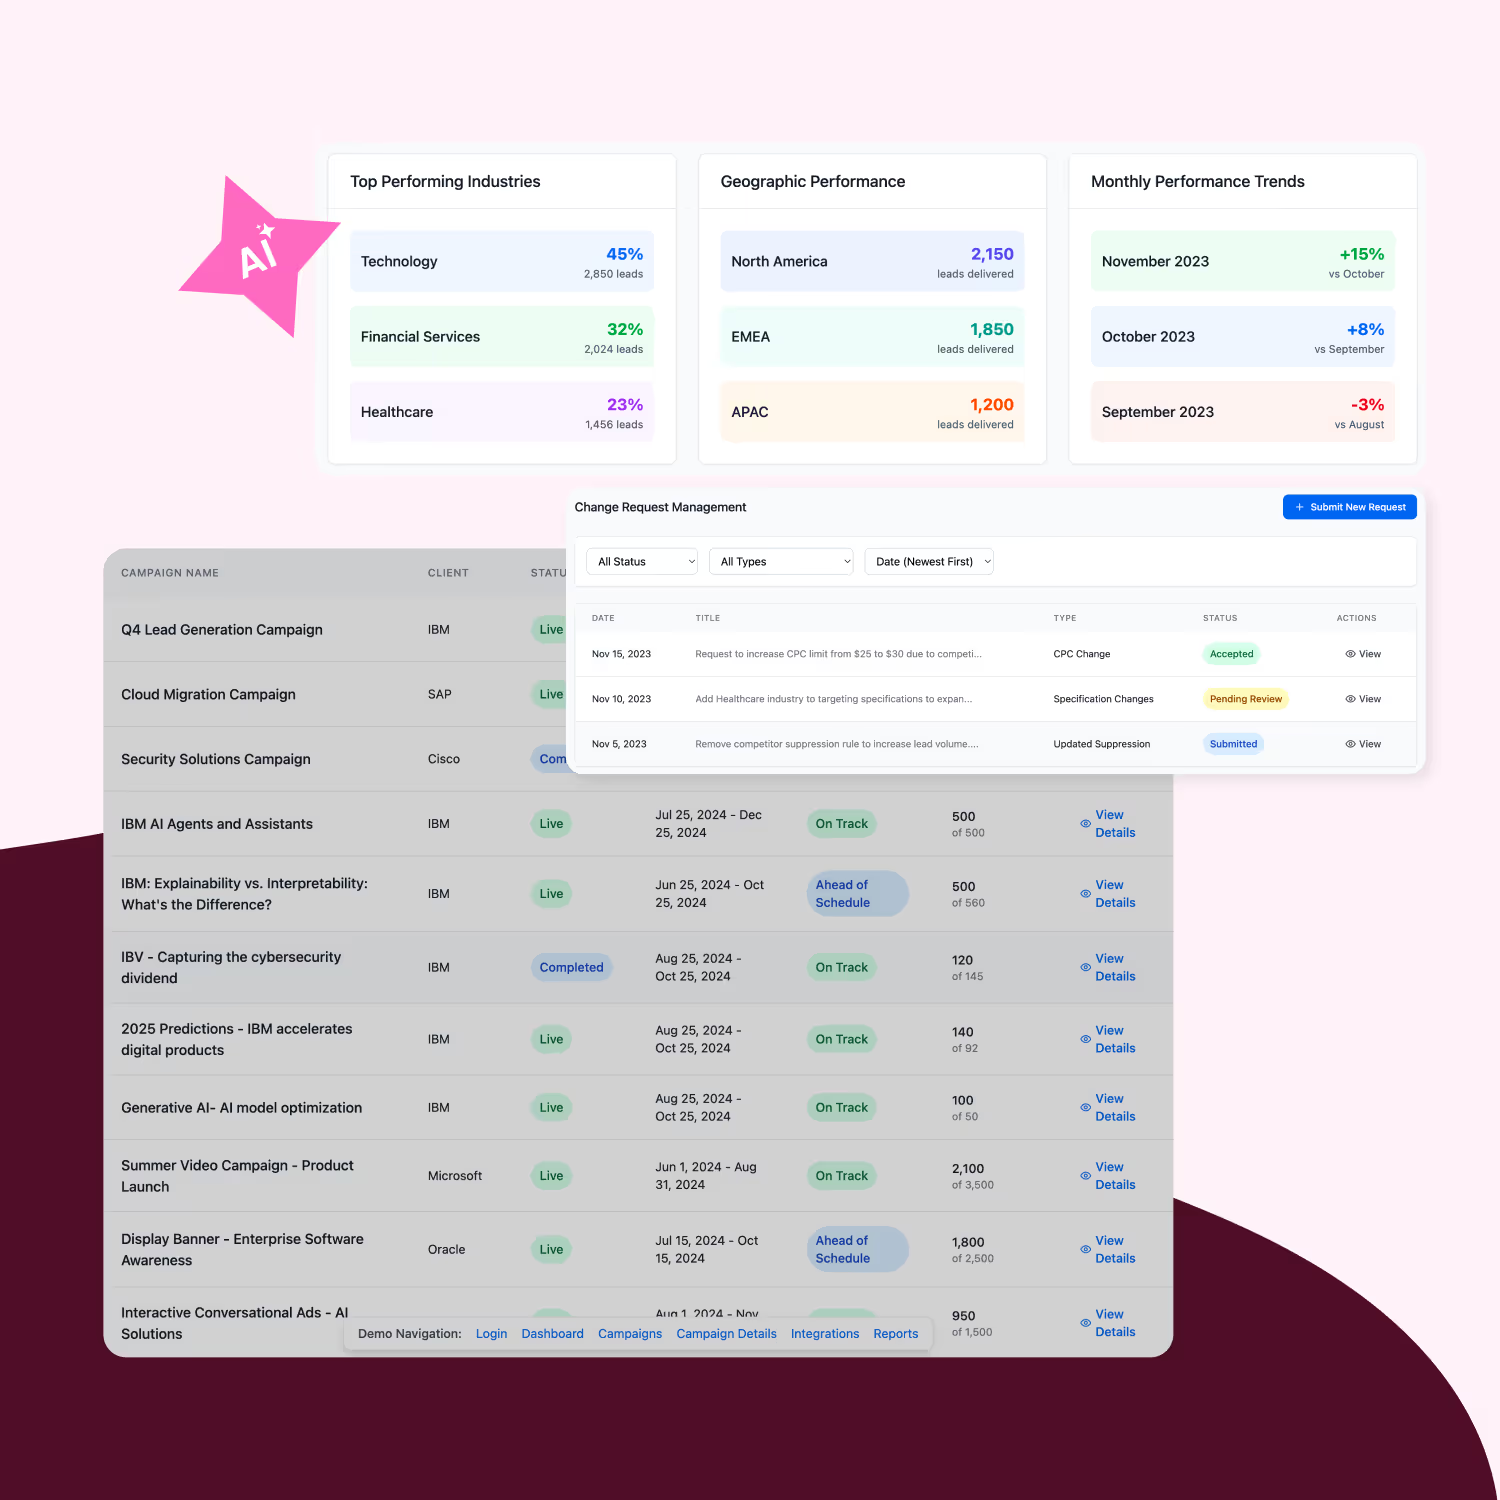
Predictiv AI integrates with your data, ABM, and partner tools—enriching your ecosystem strategy with real-time intelligence.
Built for Teams Who Need to Perform
A simple approach built for high-performance teams: find what others miss—and act on it faster.
The Opportunity is Clear
You know, at the end of the day, I believe our team should measure it on fundamentally two things. One is are we hitting the revenue target? And two is how efficiently are we hitting the revenue target?

Real outcomes from Predictiv customers:
Pipeline-to-Expense Ratio
In contributed pipeline
Lift in MQL-to-opportunity conversion
Net new logos
Stop Chasing Leads. Start Activating Revenue
Identify hidden opportunities. Prioritize with confidence. Execute with control.
FAQs
Here’s what B2B revenue teams ask about Predictiv:
Revenue Activation is the process of identifying, prioritizing, and engaging high-value opportunities across the buying cycle—helping B2B teams turn stalled pipeline and hidden opportunities into closed revenue.
Unlike traditional lead gen or intent data, Revenue Activation focuses on outcomes: accelerating pipeline and driving measurable revenue growth.
Dark Revenue is the high-value pipeline you’re missing—hidden opportunities in the dark funnel, stalled deals, and buyer committees your competitors are closing instead of you.
Predictiv helps uncover and activate these opportunities, turning hidden potential into revenue.
Our proven 4-step AI framework helps B2B revenue teams uncover their complete revenue landscape, prioritize high-intent opportunities, and engage full buyer committees.
Here’s how it works:
Unify Revenue Opportunity Signals—combine firmographic, technographic, demographic, and intent data
Identify Your Complete Revenue Landscape—see hidden accounts and full buying committees
Prioritize the Opportunities That Matter Most—focus on who’s ready to buy
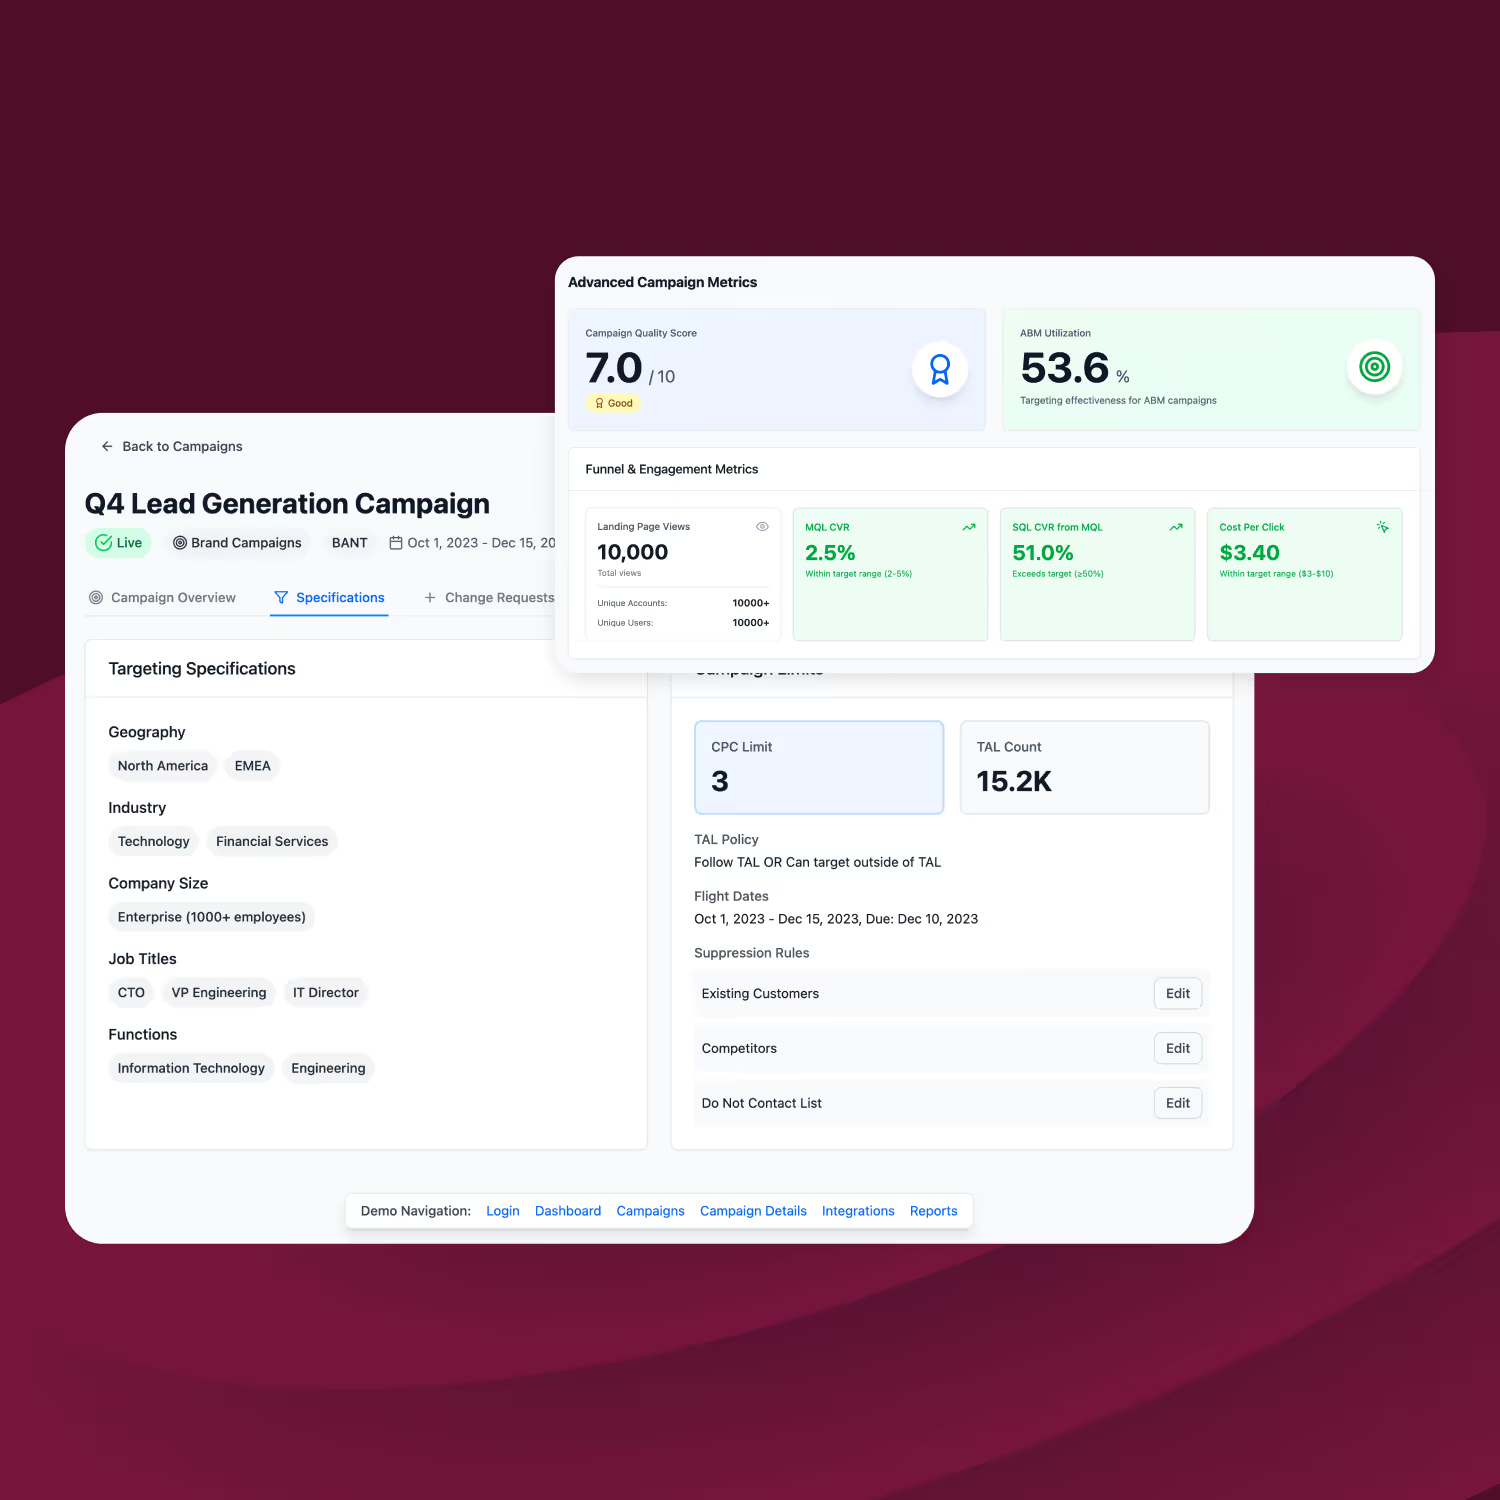
Activate Full Buyer Committees with first-party executed campaigns to move opportunities through the funnel faster
The result? Faster pipeline acceleration and more closed revenue.
Predictiv goes beyond intent data. While intent signals are part of our process, we unify multiple data sources to give you a complete, actionable view of your opportunities.
And unlike intent data vendors, we execute full-funnel campaigns in-house—turning insight into action that drives measurable revenue.
Traditional lead gen delivers contacts. Predictiv delivers revenue outcomes.
We help you uncover and prioritize high-value opportunities, engage full buying committees, and accelerate pipeline—not just fill your CRM with leads your team won’t pursue.
Predictiv executes every campaign in-house, with no outsourcing—giving you full transparency and control over your programs.
Unlike traditional vendors that hand your campaigns to third-party lead gen shops, we control every step. That means no miscommunications, no black-box delivery, and no unexpected handoffs.
Our team optimizes each campaign as it runs, ensuring better data quality, faster adjustments, and stronger results. You get clearer reporting, better performance, and more predictable outcomes.
Predictiv builds and maintains B2B contact and company profiles using publicly available data sources and compliant third-party partnerships.
Our data includes professional details like Name, Job Title, Company, Business Email, and Phone Number—never sensitive personal data.
We source data from corporate websites, company reports, professional networks, trade publications, and trusted third-party intent data providers.
All data complies with privacy regulations like GDPR. We issue Opt-Out Notices and ensure individuals can control whether their information is included.
The result: Clean, compliant data that gives your team a clear view of the opportunities worth pursuing.
Revenue Opportunity Signals are the data points Predictiv uses to identify, prioritize, and activate high-value opportunities.
These include:
By combining these signals, we help you focus on the accounts and buyer committees most likely to convert.
Predictiv executes full-funnel campaigns tailored to engage complete buyer committees.
Our tactics include:
All executed in-house to ensure precision and alignment with your goals.
Predictiv is a great fit for B2B revenue teams in Demand Generation, ABM, Partner Marketing, and Brand Marketing who need to:
If you’re focused on measurable outcomes and sales alignment, we’re built for you.


